A step-by-step guide on how to make a Google form as public, anonymous, and quiz can be simple and effective! This comprehensive guide walks you through making a public, anonymous quiz using Google Forms. Learn how to set permissions, ensure privacy, and activate grading features to engage your audience effectively. Perfect for educators and event organizers!
How to make a Google form as Public, Anonymous, and Quiz: A comprehensive guide
Here’s a comprehensive guide on how to create a Google Form that is public, anonymous, and set up as a quiz. Whether you’re a beginner or just need a refresher, this step-by-step article will walk you through the entire process, ensuring your form is accessible to everyone, protects respondent privacy, and functions effectively as a quiz. Let’s dive in!
Introduction
Google Forms is a free, powerful tool for creating surveys, quizzes, or feedback forms. In this guide, we’ll show you how to make a Google Form that meets three specific requirements:
- Public: Anyone with the link can access and submit it.
- Anonymous: No personal information is collected from respondents.
- Quiz: It includes grading features to test knowledge.
By the end, you’ll have a fully functional form tailored to your needs—perfect for educators, event organizers, or anyone looking to gather data or assess understanding. Let’s get started!
Step 1: Creating Your Google Form
First, you’ll need to set up the foundation of your form. Here’s how:
- Sign into Google
- Open your browser and go to forms.google.com.
- Sign in with your Google account. Don’t have one? Sign up for free at accounts.google.com.
- Start a New Form
- On the Google Forms homepage, click the “+” button to create a blank form.
- Alternatively, select a template like “Blank Quiz” if you want a head start on quiz-specific features.
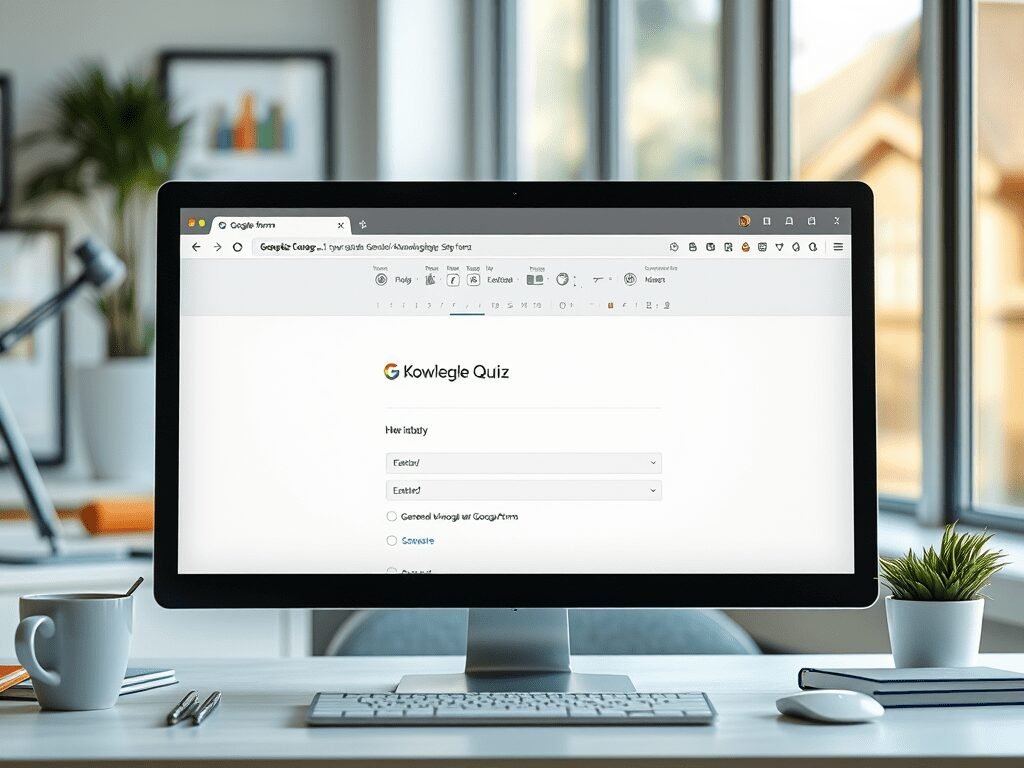
- Name Your Form
- Click on “Untitled form” at the top and type a title, such as “General Knowledge Quiz.”
- Add a description below the title to explain the form’s purpose (e.g., “Test your trivia skills with this fun quiz!”).
Now you’ve got the basics in place. Let’s make it public next.
Step 2: Making Your Form Public
By default, Google Forms are private to your account. To allow anyone to access it:
- Open the Sharing Options
- In the top-right corner of your form, click the “Send” button.
- Select the Link Option
- In the “Send via” menu, click the chain link icon to generate a shareable link.
- Adjust Permissions
- By default, it may say “Restricted” (only specific people can access it). Click “Change”.
- Choose “Anyone with the link” to make it public. Ensure it says, “Anyone with the link can view and submit.”
- Click “Copy link” to save the URL.
- Share the Link
- Paste the link anywhere—email, social media, or a website—so your audience can access it.
Your form is now public, meaning anyone with the link can participate. Next, we’ll ensure it’s anonymous.
Step 3: Keeping Your Form Anonymous
An anonymous form doesn’t track who’s responding. Here’s how to set that up:
- Disable Email Collection
- Click the gear icon (Settings) in the top-right corner.
- Go to the “General” tab.
- Uncheck the box labeled “Collect email addresses”. This prevents Google from recording respondents’ emails.
- Remove Sign-In Requirement
- In the same “General” tab, ensure “Limit to 1 response” is unchecked. If this is on, respondents must sign in, which breaks anonymity.
- Avoid Identifying Questions
- When adding questions (more on this in Step 4), don’t ask for personal details like names, emails, or phone numbers unless necessary. If you do, mark them as optional (toggle the “Required” switch off).
Quick Note: Anonymity depends on your question design. For example, asking “What’s your job title?” might indirectly identify someone, even if emails aren’t collected. Keep questions neutral for true privacy.
Step 4: Turning Your Form into a Quiz
Now, let’s activate the quiz features to make it interactive and gradable:
- Switch to Quiz Mode
- Go back to the Settings tab (gear icon).
- Under the “Make this a quiz” section, toggle the switch to on.
- Customize Quiz Settings
- Decide when grades are released: “Immediately after each submission” (instant feedback) or “Later, after manual review” (you release scores later).
- Check options like “Respondents can see missed questions” or “Correct answers” to provide feedback.
- Add Quiz Questions
- Click the “+” button on the right to add a question.
- Pick a question type:
- Multiple choice: One correct answer from options.
- Checkboxes: Multiple correct answers.
- Short answer: For exact text responses (case-sensitive grading available).
- Example: “What’s the capital of France?” (Multiple choice: Paris, Florida, Texas).
- Set Answers and Points
- After writing a question, click “Answer key” at the bottom.
- Select the correct answer(s) and assign a point value (e.g., 1 point).
- Add feedback (optional) for correct or incorrect answers, like “Great job!” or “The answer is Paris—check a map!”
Repeat this for as many questions as you’d like. Your form is now a quiz!
Bonus Tips for a Great Quiz
Here are some extras to make your form stand out:
- Clear Instructions: Use the description to explain how to take the quiz (e.g., “Answer all 10 questions—no time limit!”).
- Mix It Up: Use different question types to keep it engaging—try true/false, dropdowns, or even image-based questions.
- Test It: Submit a sample response yourself to confirm the form is public, anonymous, and grades correctly.
- View Results: After responses come in, go to the “Responses” tab to see scores or download them as a spreadsheet.
Wrapping Up
You’ve just created a Google Form that’s public, anonymous, and set up as a quiz! By following these steps—starting with a new form, sharing it publicly, disabling identity tracking, and enabling quiz features—you’ve built a versatile tool for testing knowledge or gathering anonymous input. Share your link far and wide, and watch the responses roll in. Have fun creating!


Leave a Reply