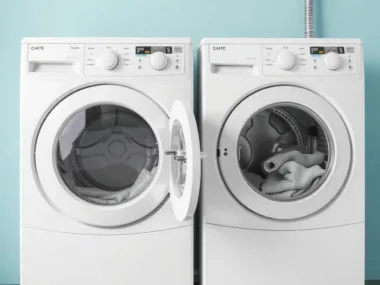
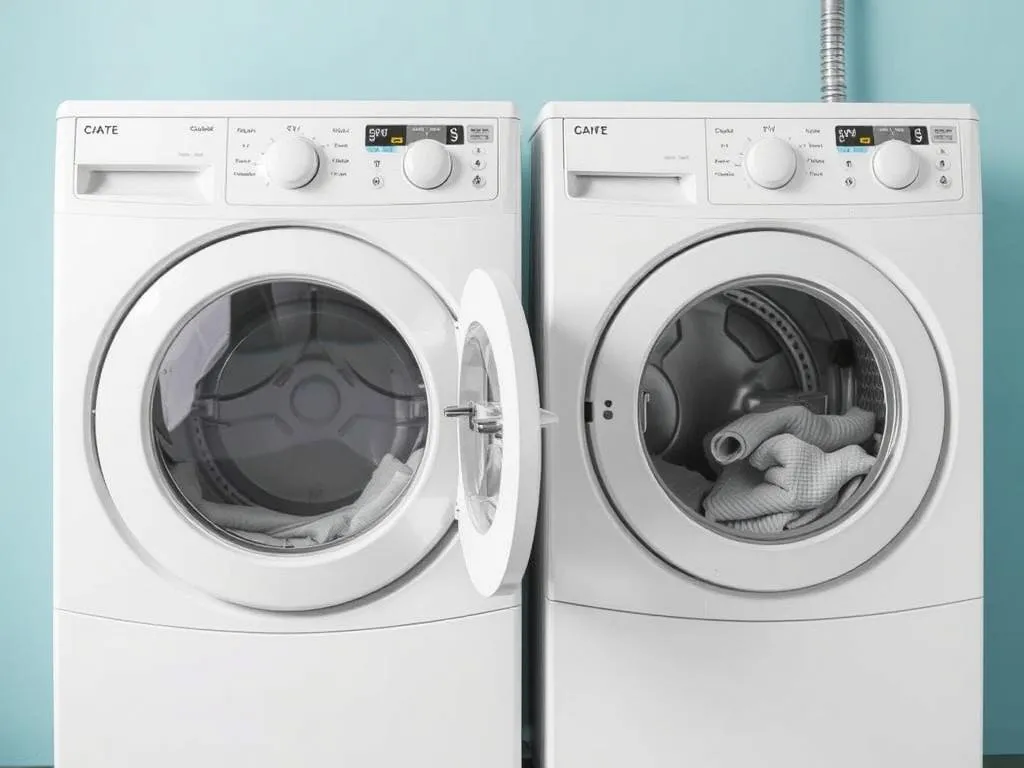
A comprehensive guide to diagnosing, maintaining, and repairing your clothes dryer. Learn common issues, DIY repair steps, and maintenance tips to keep your dryer running efficiently and prevent costly disruptions.
A Comprehensive Guide to Repairing Your Clothes Dryer
To repair a clothes dryer, start by checking the power supply and door switch. Diagnose issues like a lack of heat or unusual noises. For simple fixes, unplug the dryer, inspect components, and replace faulty parts. Regular maintenance, like cleaning the lint filter, helps prevent future problems. Always prioritize safety.
Introduction
Clothes dryers are indispensable appliances in modern households, transforming wet laundry into dry, ready-to-wear garments with ease. Yet, when they falter—whether refusing to start, failing to heat, or making unsettling noises—the disruption can be both inconvenient and costly. Fortunately, many common dryer issues can be resolved with basic tools and a bit of know-how, potentially saving you the expense of professional repairs.
This comprehensive guide invites you to explore the world of clothes dryer repair through a Socratic lens, asking thought-provoking questions to deepen your understanding of how clothes dryers work, why they fail, and how to repairing or fix them. From diagnosing problems to performing DIY repairs, understanding when to call a professional, and adopting maintenance habits, this article equips you with the knowledge to keep your dryer running smoothly in 2025.
How a Clothes Dryer Works
What makes a clothes dryer tick? Could understanding its components help you troubleshoot issues more effectively? A clothes dryer operates by combining heat, air, and motion to repairing or remove moisture from laundry. At its core, a motor drives a belt that rotates a drum, tumbling the clothes inside. A heat source—either an electric heating element or a gas burner—warms the air, which a blower fan circulates through the drum. Moist air is then expelled through a vent, with lint captured by a filter to prevent clogs.
Electric and gas dryers differ primarily in their heat source. Electric models use a heating element, while gas dryers rely on a burner ignited by a gas valve and igniter. Both types feature controls, such as timers or digital panels, to regulate temperature and cycle duration. Why might knowing these components guide your repair efforts? Could a problem with the motor, belt, or heat source explain specific symptoms?
Common Clothes Dryer Problems and Their Causes
What signs might indicate your clothes dryer needs repairing? Could a lack of heat, unusual noises, or failure to start point to specific issues? Here are the most frequent problems and their potential causes, based on insights from reliable sources like Family Handyman and The Spruce:
| Problem | Symptoms | Possible Causes |
|---|---|---|
| Dryer Won’t Start | No response when pressing the start button | Unplugged cord, tripped breaker, faulty door switch, defective start switch or timer |
| Dryer Not Heating | Clothes remain wet after cycle | Electric: Faulty heating element, thermal fuse, or thermostat; Gas: Gas valve or igniter issues |
| Takes Too Long to Dry | Clothes are damp after full cycle | Clogged lint filter, blocked vent, or restricted exhaust duct |
| Unusual Noises | Thumping, rattling, or screeching sounds | Worn drum rollers, broken belt, loose objects in drum, or faulty idler pulley |
| Drum Not Spinning | Motor runs but drum doesn’t rotate | Broken drive belt, worn drum bearings, or motor failure |
How might these symptoms help you narrow down the issue? For instance, if your dryer heats but the drum doesn’t turn, could the drive belt be the culprit? Reflect on the specific behaviors of your dryer—what clues are they offering?
Diagnosing Dryer Issues
How would you begin to diagnose a dryer problem? Could a systematic approach save time and effort? Start by observing the symptoms and checking the following:
- Power Supply: Is the dryer plugged in, and is the circuit breaker or fuse intact? For electric dryers, ensure both 120-volt circuits (240 volts total) are functioning. For gas dryers, verify that the gas valve is open.
- Door Switch: Does the dryer start when the door is closed? A faulty door switch may prevent operation. Test it with a multimeter for continuity.
- Lint Filter and Vent: Is the lint filter clean, and is the exhaust duct free of blockages? Restricted airflow can cause overheating or slow drying.
- Components: If the dryer runs but doesn’t heat, check the heating element (electric) or igniter (gas). For noises, inspect the drum rollers, belt, or idler pulley.
- Run a Test Cycle: Operate the dryer on a short cycle to listen for noises or confirm heating issues.
What might you do if these checks don’t reveal the problem? Could consulting your dryer’s manual or online resources for your specific model provide further guidance?
DIY Repair Steps for Common Issues
What repairs could you tackle yourself to restore your dryer’s performance? Might simple fixes, like cleaning the vent or replacing a part, be within your reach? Here are step-by-step guides for addressing common problems, drawing from sources like Sears PartsDirect and Family Handyman.
Repairing a Dryer That Won’t Start
- Unplug the Dryer: Ensure the dryer is disconnected from power to avoid electrical shock.
- Check the Power Supply: Verify the plug is secure and the circuit breaker hasn’t tripped. For electric dryers, confirm both 120-volt circuits are active using a voltage tester.
- Test the Door Switch: Remove the top or front panel (consult your manual) to access the door switch. Use a multimeter to check for continuity when the door is closed. Replace if faulty.
- Inspect the Start Switch and Timer: Test these components with a multimeter. If defective, replace them following the manufacturer’s instructions.
Fixing a Dryer That Doesn’t Heat (Electric Dryer)
- Unplug the Dryer: Safety first—disconnect power.
- Access the Heating Element: Remove the back or front panel to locate the heating element, typically a coiled wire in a metal housing.
- Test the Element: Use a multimeter to check for continuity. No continuity indicates a broken element.
- Replace the Element: Disconnect the wires, remove the old element, and install a new one. Secure it and reconnect the wires.
- Check the Thermal Fuse: Located near the heating element, test it for continuity. Replace if blown, as it may have tripped due to overheating.
- Reassemble and Test: Reattach panels, plug in the dryer, and run a cycle to confirm heating.
Clearing a Clogged Vent System
- Unplug the Dryer: Disconnect power.
- Remove the Vent Hose: Detach the hose from the dryer’s back.
- Clean the Hose: Use a vacuum or vent brush to remove lint and debris.
- Inspect the Exhaust Duct: Use a vent cleaning kit to clear the duct leading outside. Check the exterior vent flap for obstructions.
- Reconnect and Test: Reattach the hose, plug in the dryer, and run a cycle to ensure proper airflow.
Replacing Worn Drum Rollers
- Unplug the Dryer: Disconnect power.
- Access the Drum: Remove the top and front panels to expose the drum and rollers.
- Remove Old Rollers: Unscrew or unclip the rollers, noting their position.
- Install New Rollers: Attach new rollers, ensuring they spin freely.
- Reassemble and Test: Replace panels, plug in the dryer, and run a cycle to check for noise reduction.
Safety Precautions:
- Always unplug the dryer or turn off the gas supply before starting repairs.
- Wear gloves and safety goggles to protect against sharp edges or electrical hazards.
- For gas dryers, ensure the gas valve is off and check for leaks using a gas detector.
- If unsure, consult a professional to avoid injury or further damage.
How confident are you in performing these repairs? Could practicing on a smaller task, like cleaning the vent, build your skills for more complex fixes?
When to Call a Professional
What situations might be too challenging for a DIY repair? Could electrical or gas-related issues pose risks? Consider professional help for:
- Complex Electrical Issues: Faulty wiring, control boards, or motors require specialized knowledge and tools.
- Gas-Related Problems: Gas leaks, faulty igniters, or valve issues in gas dryers demand expert handling due to safety concerns.
- Persistent Issues: If DIY repairs don’t resolve the problem, a technician can diagnose deeper issues, such as internal component failures.
- Safety Concerns: If you’re uncomfortable with electrical or mechanical tasks, professional service ensures safety and accuracy.
How would you find a reliable technician? Could checking reviews on platforms like Angi or contacting your dryer’s manufacturer provide guidance?
Repair Costs
What might you expect to pay for dryer repairs? Could the type of issue or your location influence the cost? Here’s a breakdown based on general estimates:
| Service | Cost Range | Details |
|---|---|---|
| DIY Repairs | $20-$100 | Parts like thermal fuses, belts, or rollers are affordable. |
| Professional Repairs | $100-$400 | Includes labor and parts; costs vary by issue complexity and regional rates. |
| New Heating Element | $30-$100 (part) | Labor for installation adds $70-$250. |
| Professional Service Call | $50-$150 | Diagnostic fee, often applied to repair costs if service is performed. |
These costs are approximate and can vary by location, dryer brand, and service provider. Why might it be worth comparing quotes from multiple technicians? How could the age of your dryer—typically lasting 10-13 years—affect your decision to repair or replace?
Maintenance Tips to Prevent Future Issues
How can you keep your dryer running smoothly for years? Could regular care prevent costly repairs? Adopt these maintenance habits:
- Clean the Lint Filter: Remove lint after every load to maintain airflow and reduce fire risk (The Spruce Lint Cleaning).
- Inspect and Clean the Vent: Annually, clear the exhaust duct and exterior vent to prevent clogs and ensure efficient drying.
- Check Drum Rollers and Belt: Every 1-2 years, inspect for wear and replace if needed to avoid noises or drum issues.
- Ensure Proper Installation: Verify the dryer is level and the vent hose is not kinked, following manufacturer guidelines.
- Avoid Overloading: Follow load size recommendations to prevent strain on the motor and belt.
How could integrating these tasks into your household routine save time and money? What reminders might help you stay consistent?
Real-World Example: A Tale of Two Dryers
What can real-life scenarios teach us about dryer repair? Consider two homeowners, Lisa and Tom:
- Lisa’s Story: Lisa noticed her electric dryer wasn’t heating. She tested the thermal fuse with a multimeter, found it blown, and replaced it for $20. Regular vent cleaning every six months kept her dryer trouble-free.
- Tom’s Story: Tom ignored a thumping noise, assuming it was normal. The noise worsened, and a broken drum roller caused the drum to misalign, requiring a $300 professional repair. He learned to inspect rollers annually.
How might Lisa’s proactive approach inspire you? Could Tom’s experience highlight the risks of neglect?
Conclusion
What will you do the next time your clothes dryer acts up? By understanding its components, diagnosing common issues, mastering DIY repairs, knowing when to call a professional, and committing to regular maintenance, you can keep your dryer running efficiently and avoid costly disruptions. Reflect on your dryer’s recent performance—any unusual noises or slow drying?—and take action to address potential problems. Whether you’re clearing a vent or replacing a heating element, this guide equips you with the confidence to tackle dryer repairs in 2025, ensuring your laundry routine stays on track.


Leave a Reply